Creating a droplet on Digital Ocean
19/01/2020
I use mostly Digital Ocean servers for my personal projects. They offer great prices, performance and flexibility. And if you ever need to scale up they can take you pretty far with their managed Kubernetes clusters.
I use Docker a lot. Probably in all projects. I mean why not? The overhead in the server is tiny and the setup time savings are huge as well as having the same environment across all dev and production machines is another great time saver. It's a pain to setup, but once it works its great.
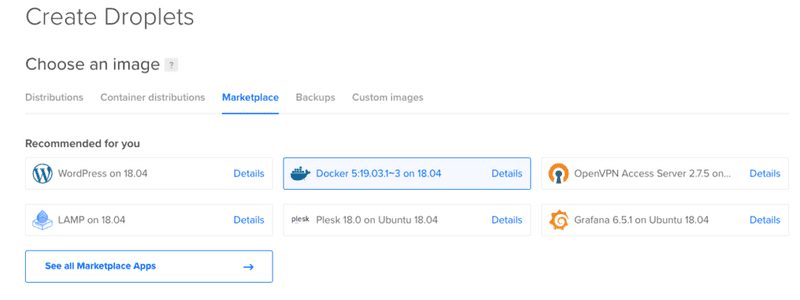
Because of this, I generally pick a Digital Ocean container already pre-configured with docker.
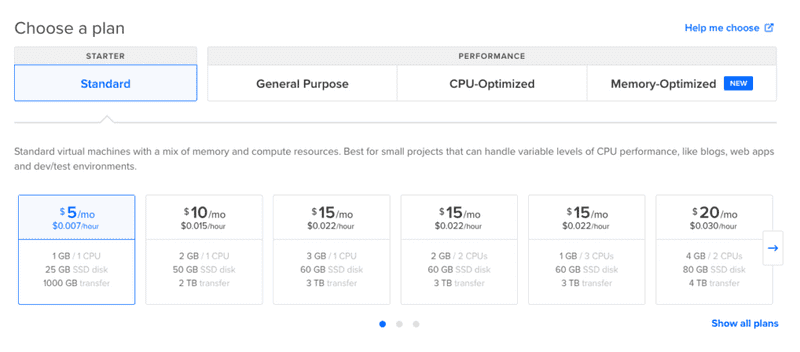
Generally, the smallest server is OK for most projects:
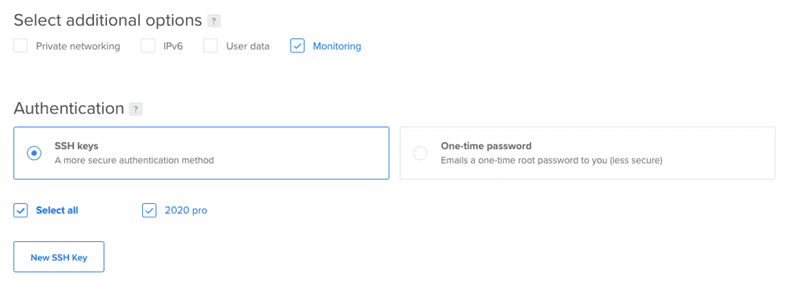
I have already added my SSH public keys to DO so when the server is created I can easily login and start setting up the server:
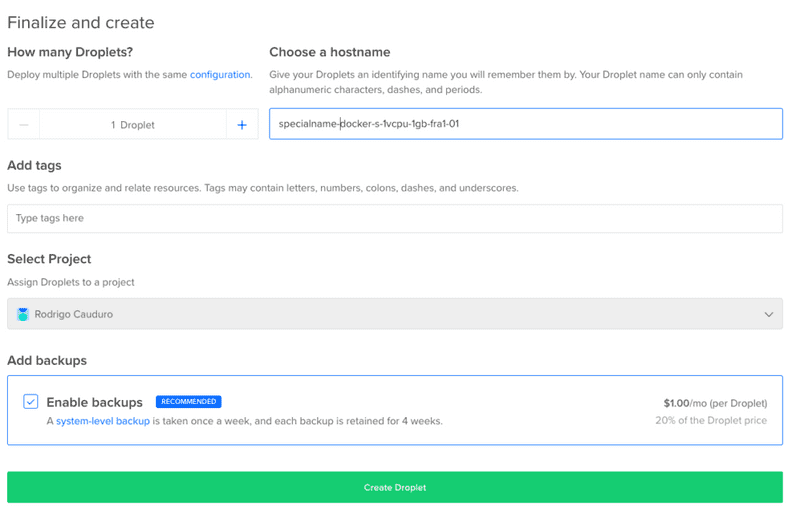
I always enable backups as they are cheap and can be life savers in the beginning of a project. I also try to give the server a name to find it later more easily:
And that's it, just wait until the server is up and you can grab the IP to ssh and start changing it up.
Generally, my next step is to point the domain name to the new IP so that my project is reachable online. I use namecheap.com a lot (initially because they accepted crypto as payments) and have been happy with them in general. Although you can also now use Digital Ocean for your DNS too:
I tend to use TTL for 1min because I like to see my new domain working quickly.
Next, generally I set up the git repo from which I will use to deploy code to the live server.
